You know that famous thing they said about teaching it will help you understand it better? Yeah, well that is what I'm doing right now with this article.
I recently built a simple weather application and I wanted to put you through the steps on how I was about to create it after googling the life out of my pc.
So, follow along as I take you on the journey on how I created my first weather application using an open-source API, a little bit of JavaScript, and a bit of CSS(barebone stuff).
Let's move!
Here's how it's going to go, we'll be going over;
- A Weather API
- Markup the HTML
- Give it a little styling
- OpenWeather API
A Weather API
The very first thing we need to do is find the data needed to bring back the weather information we need when we click on the form we are going to be creating later on. For this case, we are going to be using the OpenWeatherMap API.
To get started, you're going to need to create an account using this link, it will take you to the page below.
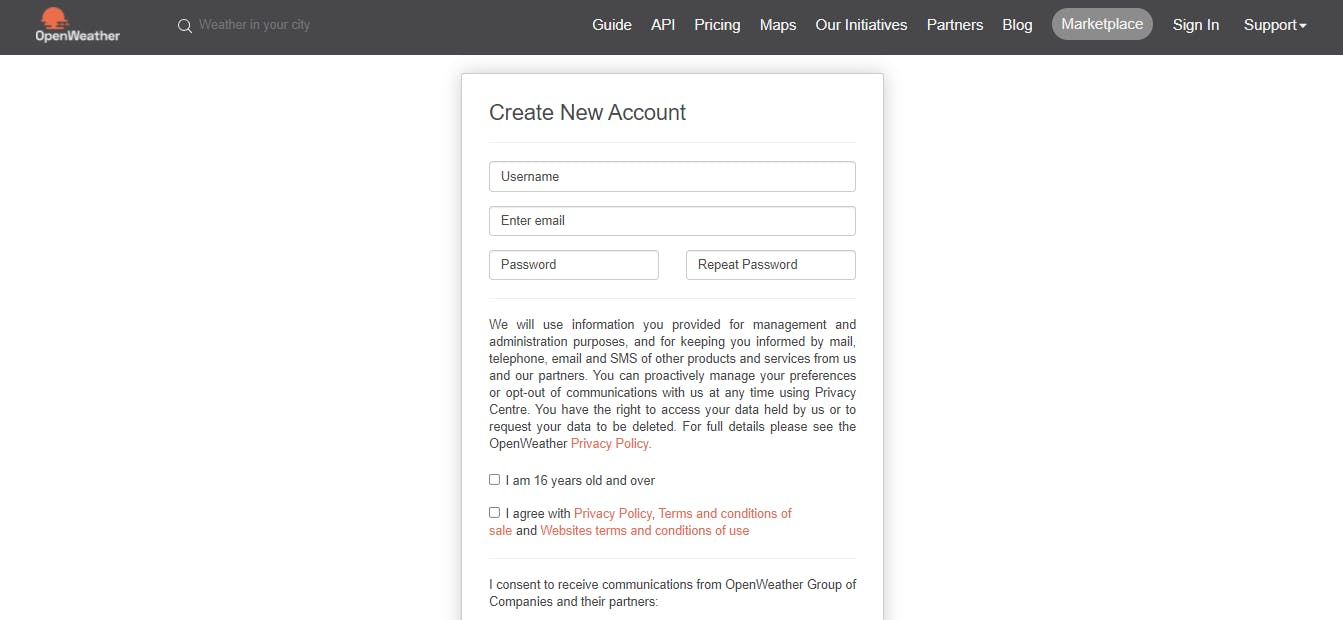
After you sign up, you're going to have to verify your account with the email verification link that will be sent to the email address you provided during signup.
Now, we move on to another thing we need to work with the OpenWeather API, we are going to download a JQuery plugin to work with the OpenWeatherMap API. This is just going to help us display the weather information about the city gotten from the OpenWeatherMap API.
Let's proceed.
Now, we go to the GitHub repository containing the JQuery plugin we need for the weather app. Click on the green code button and click on the copy icon from the drop-down menu on the HTTPS tab.
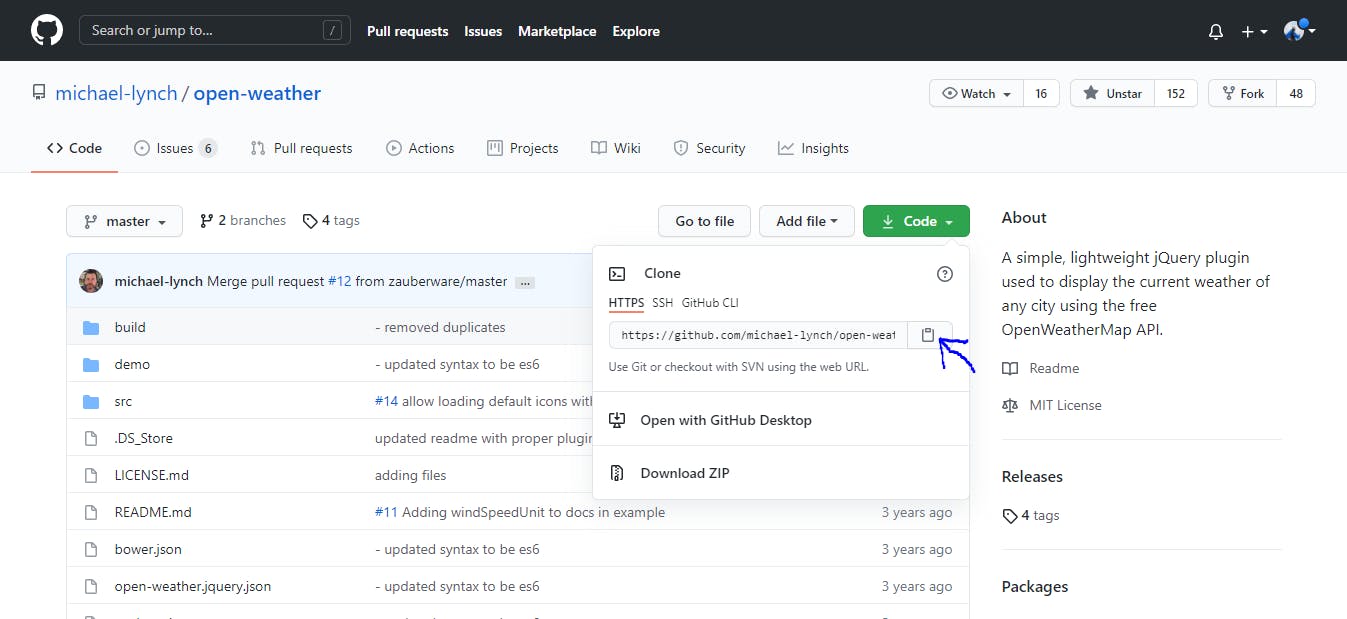
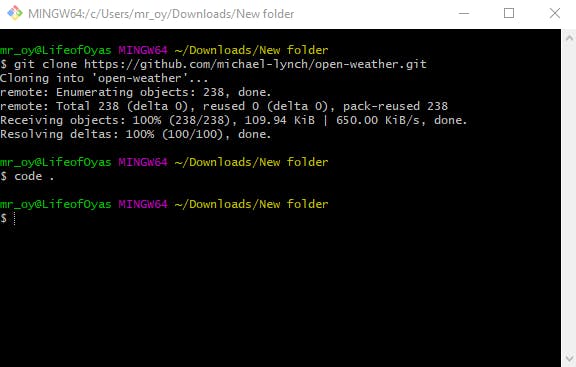
Clone the repository on the git bash command line using the code below and press enter on your keyboard.
git clone https://github.com/michael-lynch/open-weather.git
This is what it will look like on your terminal after you run the code above.
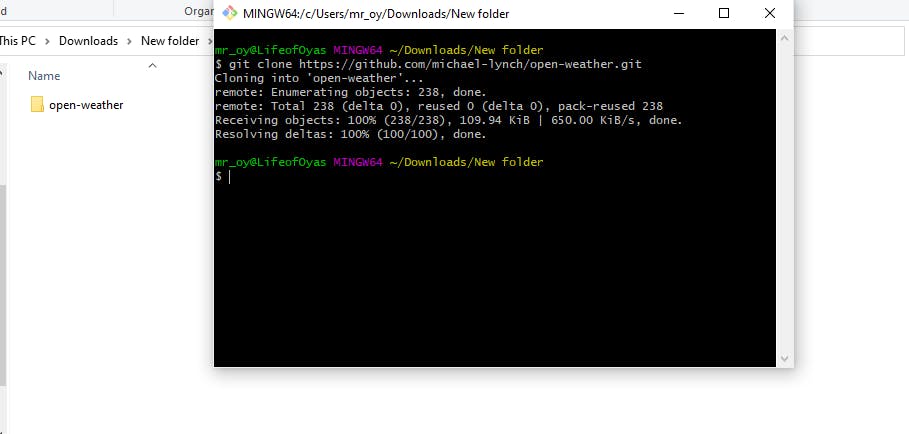
If you look behind the terminal in the picture above, you should see a folder with the open-weather repository cloned on my local machine.
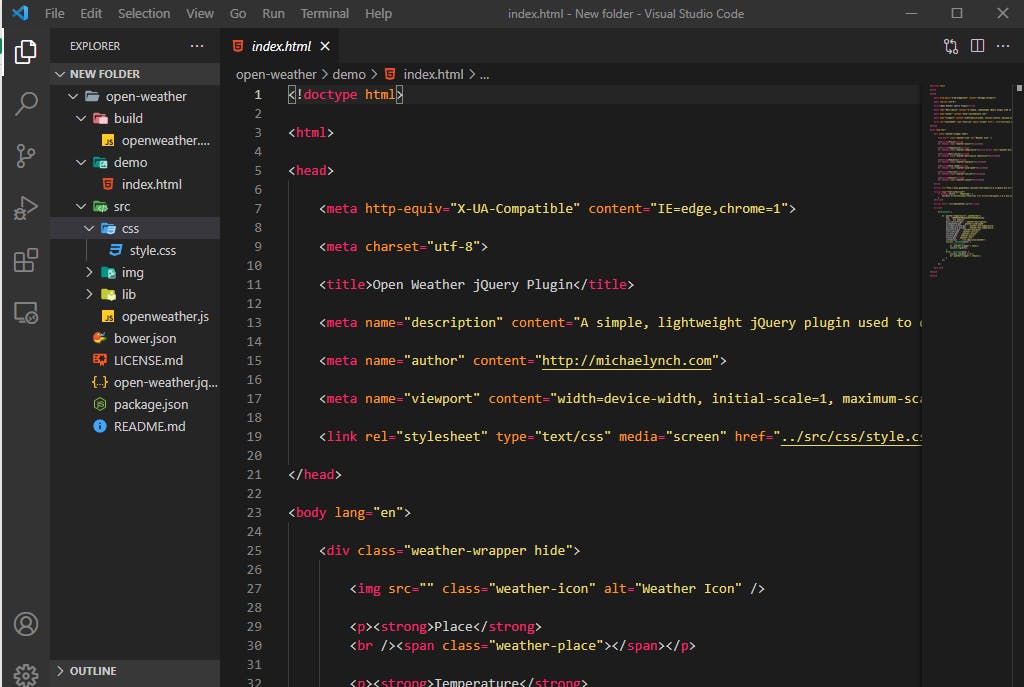
Next, we need to open the repository on a code editor, and in this case, we are going to be using VS code as our code editor.
We will open the VS code on the terminal by typing the code below and hitting the enter button on the git bash command line.
code .
It should look like this after the code runs.
Now, we move on to VS code after it opens up and edit the codebase.
Markup the HTML
The first thing we need to do here is open the index.html in the demo folder.
Now, we have to create the search form. The form is where you'll have to input the name of the city you wish to know the weather condition.
Create an input tag and a submit button and give each of them classes, so you can style them later on with CSS.
Also, ensure you give the form and the input text and id to work with the JavaScript later on.
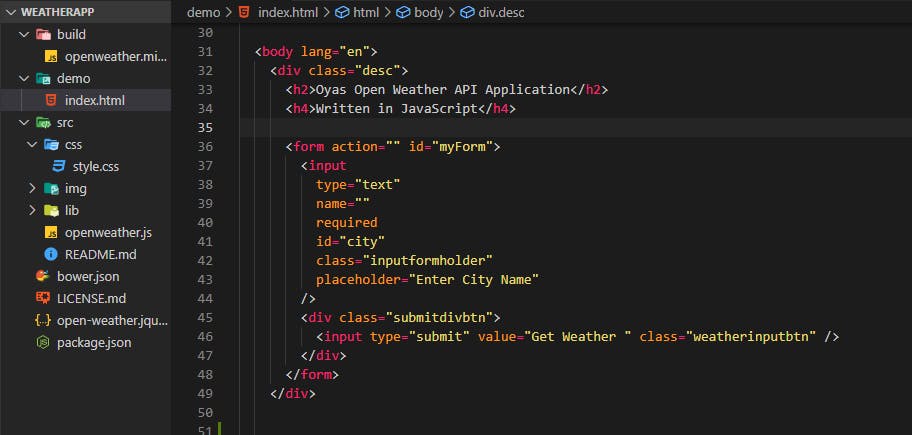
We are not really going to do too much with CSS on this project as we are mainly focused on getting the weather app up and running. The HTML should output something like this below.
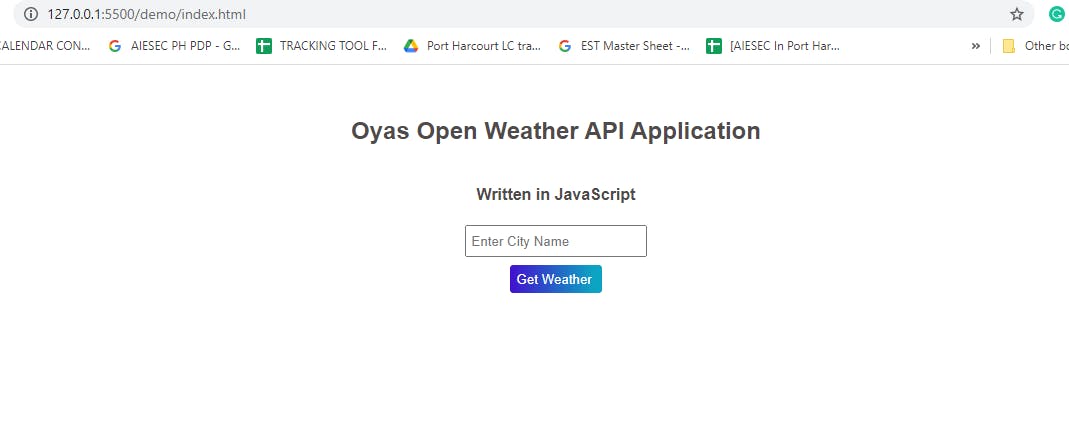 Note that some styling is applied here, but don't worry about that for now, we'll apply that later on.
You can, however, style your own if you want but I advise you follow along first before you go in and break stuff later on for the sake of experimentation as I do sometimes.
Give it a Little Styling
After creating the search form. It is now time to give it a little styling. To get this done, we have to ensure that we have our stylesheet properly linked to the HTML file. To get this done in this case, we use the code below.
<link rel="stylesheet" type="text/css" media="screen" href="../src/css/style.css"/>
You can find the style.css file in the CSS folder, in the src folder. It should look like this when you are done in your editor.
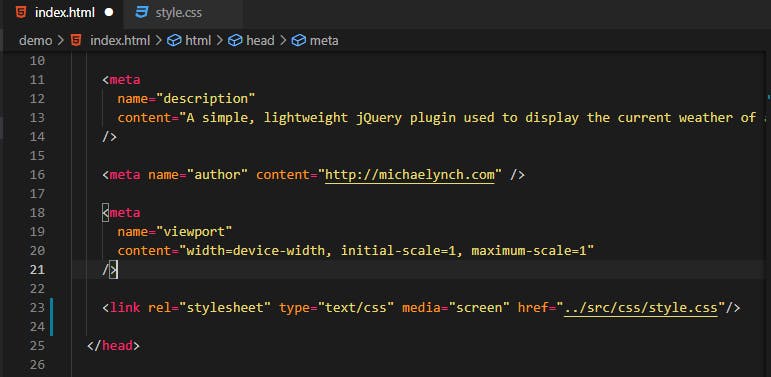
Now we move on to the style.css file to give the form a little bit of styling.
First, we target the "desc" class to give it a bit of styling and centralize it as it is a div wrapping the form. We do that with the code below.
.desc {
  color: rgb(80, 75, 75);
  display: flex;
  flex-direction: column;
  justify-content: center;
  align-items: center;
  margin-top: 2rem;
}
Next, we style the text input tag with the class "inputformholder" using the code below.
.inputformholder {
  padding: 0.4rem 0.3rem;
}
After this, we style the submit button. I kind of went with how I felt with this and I used a gradient color and with blue being my favorite color, I think you can understand why the button turned out with that color.
I styled the submit button with a class of "weatherinputbtn" using the code below.
.weatherinputbtn {
  outline-color: none;
  background: linear-gradient(
    90deg,
    rgba(13, 164, 237, 1) 0%,
    rgb(66, 16, 206) 0%,
    rgb(12, 164, 194) 91%
  );
  color: #fff;
  padding: 0.4rem 0.4rem;
  cursor: pointer;
  border-radius: 0.2rem;
  border: none;
  margin-top: 0.5rem;
}
The form will be looking like this right about now.
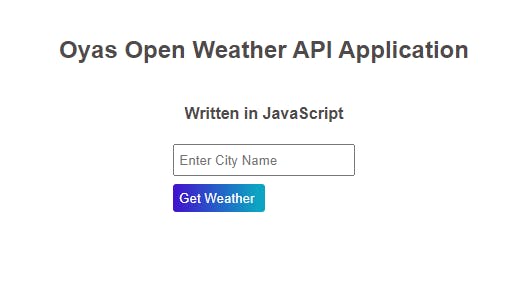
However, I want the submit button centralized, so I wrapped the submit button in a div and gave it a class of "submitdivbtn" and styled it using the code below.
.submitdivbtn {
  display: flex;
  justify-content: center;
  align-items: center;
}
The final look of the form will be something like this.
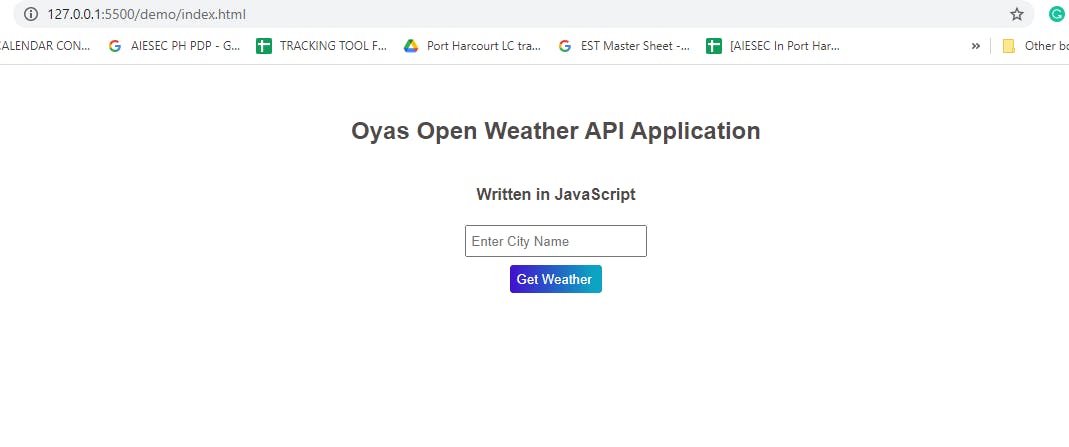
You can write out your CSS below the body tag in the style.css file like this.
Note
I have Prettier, Monokai++, and Bracket Pair Colorizer extensions installed on my VS Code in case you are not getting the same colors or arrangement on your code, it doesn't mean your code is wrong.
OpenWeather API
Now we go to the script section of the index.html file in the demo folder.
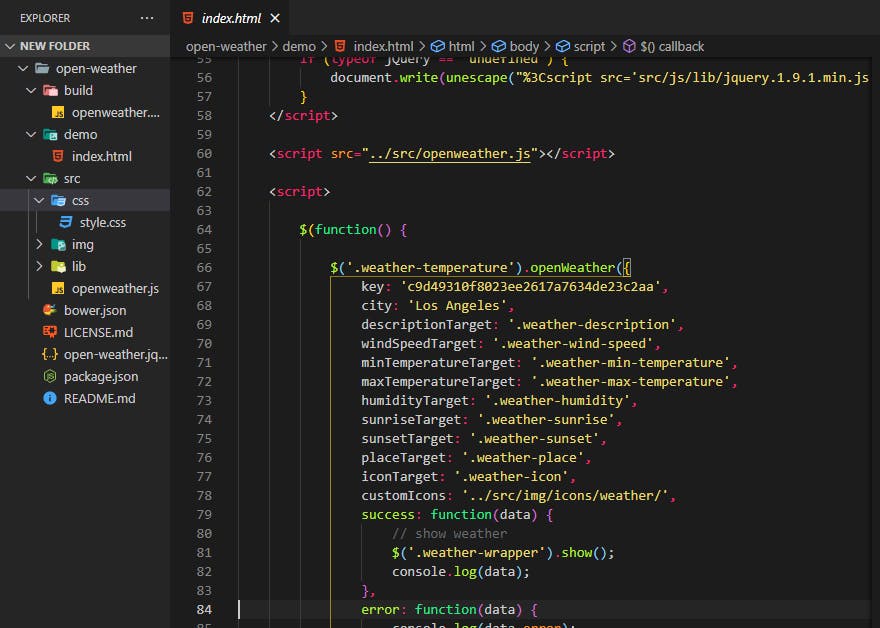
We are going to be inserting our own API key in the key section under function.
We need to change the API key currently there to the one we will be getting from the API key section of the OpenWeatherMap website where we created an account earlier.
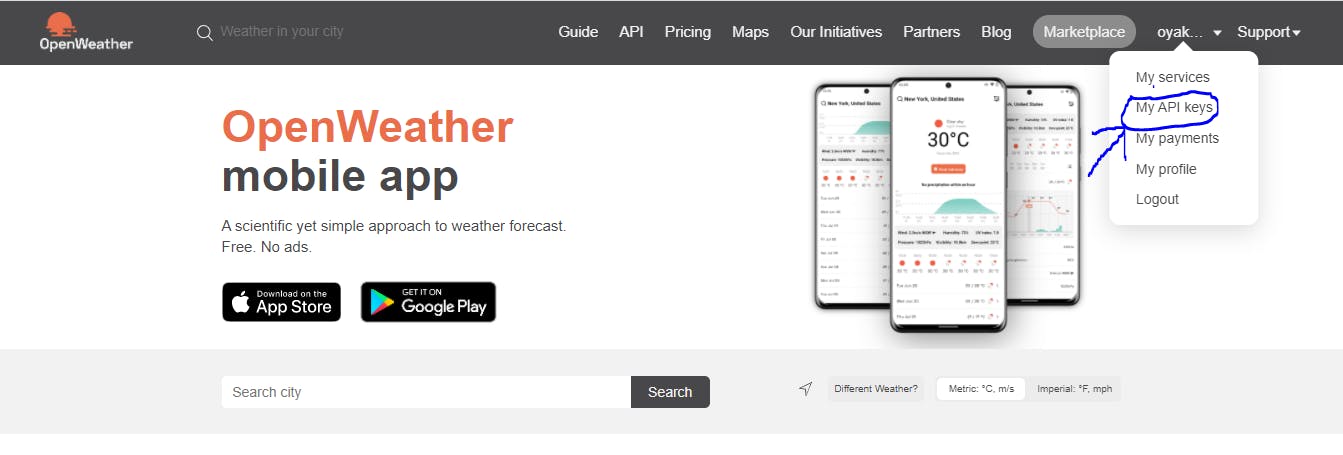
Go to the OpenWeatherMap website, click on your username on the menu bar, click on "My API Keys" from the drop-down menu and it'll take you to a new page

Highlight and copy the API key you see on the screen by holding down the "ctrl" + "c" button on your keyboard.
Now go back to the script section of the index.html file and paste the key you copied in the key section. Ensure you put the key in quotation marks.
key: 'a5bbe554e5048874ad8ad812643f4d9a',
Note
Do not copy my key but use your own from your account on OpenWeatherMap.
So, we need to highlight and use "ctrl" + "x" on the keyboard to cut out the entirety of everything in this function and paste it into the new function we will be creating called getWeather(city).

In the new function, replace the static city name of "Los Angeles" with city. Do not put city in a string.
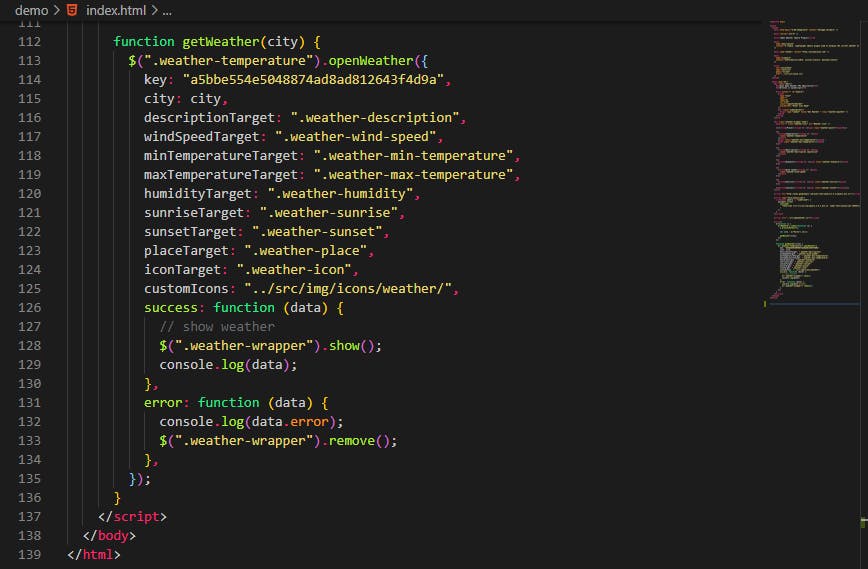
Next, we create a new function to target the form id and get the form to execute a callback function when the form submits a city name.
Then, we ensure to prevent form auto submission by creating a preventDefault submission.
We then target the city id in the form by creating a variable for the id and to get the value for that city. We round up by calling the getWeather function.
      $(function () {
        $("#myForm").submit(function (e) {
          e.preventDefault();

          var city = $("#city").val();

          getWeather(city);
        });
      });
Save the files, and open the index.HTML file with Live Server on your browser, you'll get the final output to be something like this.
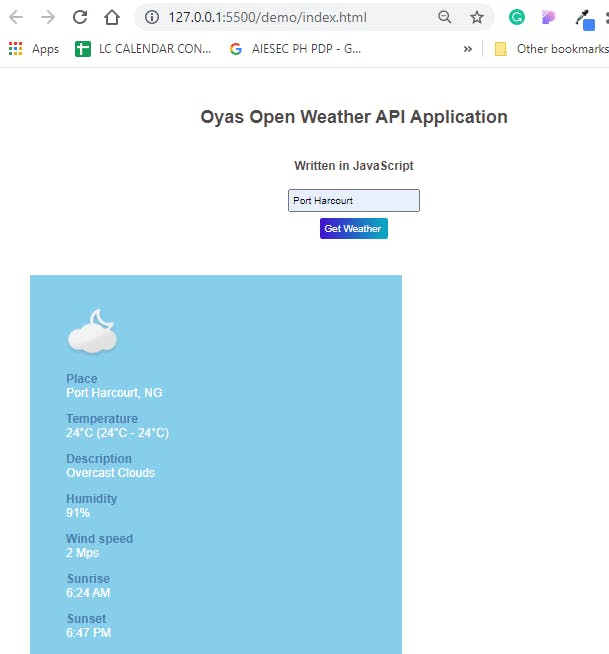
Port Harcourt is a city in Nigeria and it is my city and that is usually the weather around here.
There you have it, you have built a simple weather application using an API! How about that huh?
Let me know what you think in the comment section, and I'll see you on my next adventure.
